

Home Assistant Dashboard Design System (Button-Card First)
I built a button-card-first design system for Home Assistant dashboards so Lovelace views stay consistent, maintainable, and Codex-friendly.
I love Home Assistant dashboards, but they can get messy fast: one-off styling, inconsistent spacing, and a bunch of cards that look like they were built by different people on different days.
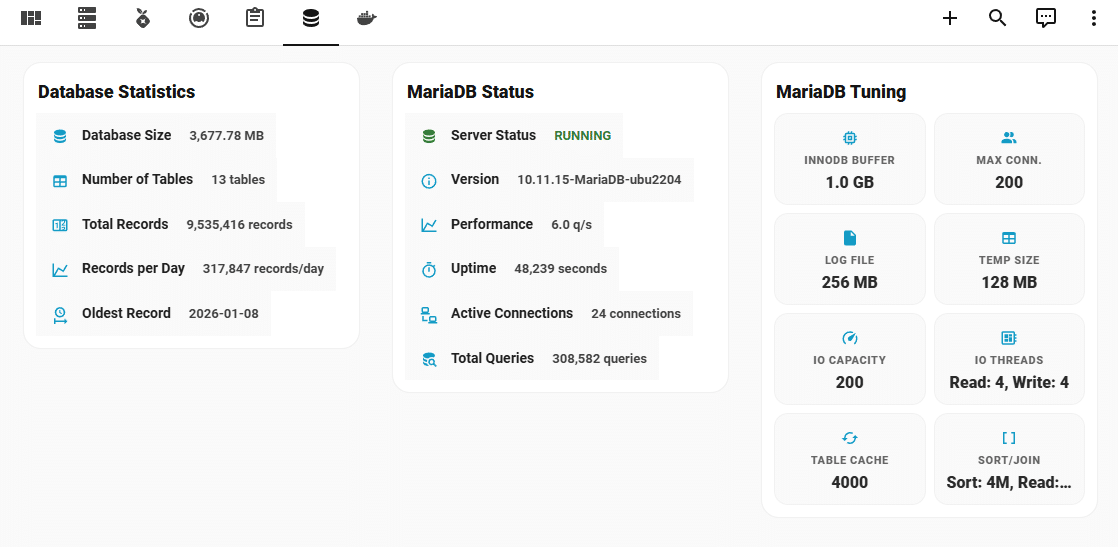
This week I put a real system around it so I can design, refactor, and extend Lovelace views without drifting into chaos. The screenshot above is my MariaDB view from the Infrastructure dashboard, and it’s the kind of “clean + repeatable” look I’m chasing.
Related GitHub issue: Issue #1566
The problem
Dashboards are UI code. If you don’t enforce constraints, they rot the same way any other codebase does: duplicate patterns, random layout hacks, and a style system that only exists in your head.
The fix
I created a Codex skill called homeassistant-dashboard-designer that enforces a strict, machine-safe design system:
- Button-Card first for structure, tiles, and headers.
- card-mod only for shared polish (no one-off experiments).
- Grid + vertical-stack only, max nesting depth 2.
- Flex Horseshoe for single-metric gauges and Mini Graph for one-metric trends.
- Centralized templates so views stay clean and deterministic.
And when I need UI inspiration, I use Stitch as input for hierarchy and grouping, but I never copy it directly into Lovelace. Implementation discipline stays on the Home Assistant side.
Full skill docs + install instructions live in my repo here: codex_skills/homeassistant-dashboard-designer.
Snippet From The Skill (What Codex Actually Follows)
I don’t want to feed Codex a rigid “intent block” every time. This skill is natural-language-first, and it uses the Home Assistant MCP to validate entities and services when it’s available. Here’s an excerpt from the skill definition:
## Primary Input: Natural Language (Default)

You can give natural-language guidance. The skill must infer the structured intent internally (dashboard intent, view name, entity mapping, constraints) while enforcing the design system and validating entities/services via the Home Assistant MCP when available.

Minimum helpful info to include in natural language:
- What to change (add/remove/refactor) and why (the goal).
- Where to change it: the exact view/partial path(s) under `config/dashboards/**`.
- Any constraints you care about: desktop/mobile columns, time window preferences for graphs, "do not touch" templates/sections.

## Home Assistant MCP Validation (Required When Available)

Before writing Lovelace YAML, confirm:
- Every `entity:` (and any entities referenced via variables) exists.
- Every service you plan to call exists and the payload shape is correct (especially `service_data`).
Home Assistant MCP (Why It Matters)
This is the difference between “close enough” YAML and YAML that won’t explode at runtime. If the MCP is enabled, Codex can confirm entity IDs and service calls against your live Home Assistant before it writes anything.
- Create a Home Assistant long-lived access token (Profile page in HA).
- Set
HOMEASSISTANT_MCP_AUTH=Bearer <your_long_lived_access_token>in your environment (never in git). - Add the Home Assistant MCP server to your Codex config.
# ~/.codex/config.toml

[mcp_servers.homeassistant]
url = "http://<your-ha-host>:8123/api/mcp"
env_http_headers = { "Authorization" = "HOMEASSISTANT_MCP_AUTH" }
Result
- Views stay consistent as they grow.
- Refactors get smaller (because templates do the heavy lifting).
- Codex can generate changes safely without inventing a new visual language every time.
Also: if you’re doing big Lovelace work, Home Assistant Time Machine is still my favorite safety net for dashboard backups and restores.
If you want to see the bigger “Codex in my homelab” setup behind this workflow, I wrote it up here: MCPs in My Homelab.
Watch the Dashboard Walkthrough
I also published a short walkthrough video that shows this structure in action, including the dashboard entrypoint, thin view files, partials, shared button-card templates, and the MariaDB card example where only the entity binding changes.
Draft generated with help from Codex